
Incase you’re wondering what hole I’ve been hiding in all summer... it’s been one covered in saw dust. I made a block of basswood into a custom made beer tap handle for Maggio's Restaurant's own brewed beer!!


It all began with a 16 inch block of basswood, one of the softer woods to carve. The block was 2.5 by 2.5 in length and depth as well, and was conveniently purchased on Amazon using my prime membership (lifesaver). Along with this purchase, I bought a set of chiseling tools because I thought that was the best way to carve this block of wood - boy, was I wrong. I struggled for about 30 minutes to try carving this thing and then reluctantly gave up. That's when I went calling my grandfather asking for advice, or possible tools to borrow, and lucky me got to use his Dremel 3000. My poor thumbs couldn't handle anymore accidental smashing.
Unfortunately, all my early pictures of the block turning into the carved handle have disappeared so I have nothing to compare the before, middle, and after process of my carved handle. I’d like to thank my grandfather for lending me his dremel so I didn’t painfully hand carve this with a chisel and hammer. Thank you to Amazon prime for the quick shipping and abundance of supplies. Finally, thank you google and blogs of hipster beer enthusiasts, that so badly want to brew and make their own beer handles, for sharing how to attach and drill nuts and bolts into blocks of wood.
It's my turn to share what you need for this project, who to execute it, and how to finish it as a professional piece of work!
Frist, get yourself a block of wood. Heck, go pick up some sticks from you local woods - there's plenty of free stuff in there that you can find to turn into a masterpiece.
Second, you're going to need the tools to carve. I highly recommend a Dremel of some sort, with plenty of attachments, and definitely a face mask and some goggles to protect your eyes and lungs.

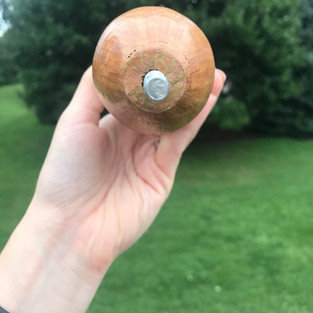
Third, you're going to need the attachments for the block of wood to connect to the tap handle. Typically, all tap handles are the same size in the United States. I made an Etsy search for a basic chrome ferrule (the piece of metal that you see when looking at beer tap handles). On Amazon, I got a pack of hanger bolts which is what you will screw into the bottom of the block of wood, for the ferrule to screw into.


The hanger bolt:


Finally, you're going to need stain or paint for the handle to be finished. Including with this stain and paint, is the protective shell it will also need - polyurethane. Thankfully, I have wonderful connections to put over 22 coats of polyurethane on my handle for the abundance of hands that are going to be put on this specific piece over time at the bar. However, they make wood stain that has polyurethane in it as well - look around and ask for advice from the paint consultant working at the store (that's their job). I personally used black and pecan stain from Lowe's.
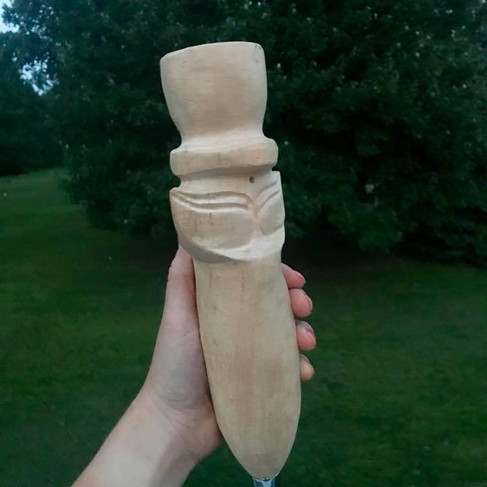
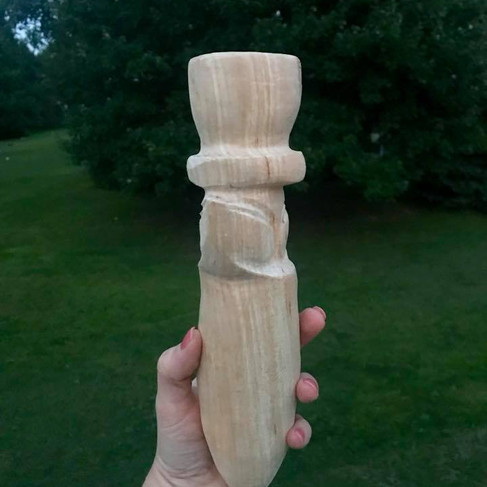
Here's some pictures of my adventure working with wood and the amount of saw dust I've inhaled:


Before stain & seal:


After stain & seal:


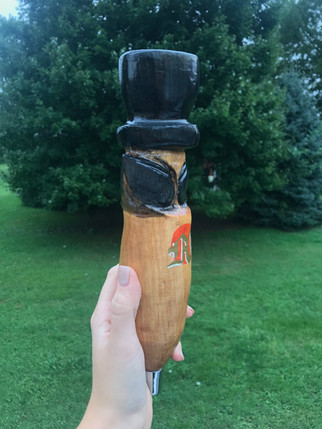


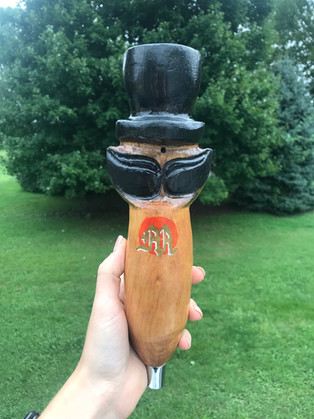
There she blows!! Hope you enjoyed the read! I already have a few more projects of more tap handles to do, so those will be shared in the future too.
PSA: This project took me a total of 15 hours and over a month and a half to come to a complete finish. But you can go check it out in person at Maggio's bar in Southampton. They brewed their own beer that can only be purchased from the tap at the restaurant.
Happy sipping!!
With love,
Tori
Comments